1. 创建 docker-image.yml
在项目目录底下,创建一个 .github/workflows 文件夹,然后创建一个 docker-image.yml 文件,内容如下:
# https://docs.github.com/zh/actions/use-cases-and-examples/publishing-packages/publishing-docker-images
name: Create and publish a Docker image

# Configures this workflow to run every time a change is pushed to the branch called `release`.
on:
  push:
    branches: ['main']

# Defines two custom environment variables for the workflow. These are used for the Container registry domain, and a name for the Docker image that this workflow builds.
env:
  REGISTRY: ghcr.io
  IMAGE_NAME: ${{ github.repository }}

# There is a single job in this workflow. It's configured to run on the latest available version of Ubuntu.
jobs:
  build-and-push-image:
    runs-on: ubuntu-latest
    # Sets the permissions granted to the `GITHUB_TOKEN` for the actions in this job.
    permissions:
      contents: read
      packages: write
      attestations: write
      id-token: write
      #
    steps:
      - name: Checkout repository
        uses: actions/checkout@v4
      # Uses the `docker/login-action` action to log in to the Container registry registry using the account and password that will publish the packages. Once published, the packages are scoped to the account defined here.
      - name: Log in to the Container registry
        uses: docker/login-action@65b78e6e13532edd9afa3aa52ac7964289d1a9c1
        with:
          registry: ${{ env.REGISTRY }}
          username: ${{ github.actor }}
          password: ${{ secrets.GITHUB_TOKEN }}
      # This step uses [docker/metadata-action](https://github.com/docker/metadata-action#about) to extract tags and labels that will be applied to the specified image. The `id` "meta" allows the output of this step to be referenced in a subsequent step. The `images` value provides the base name for the tags and labels.
      - name: Extract metadata (tags, labels) for Docker
        id: meta
        uses: docker/metadata-action@9ec57ed1fcdbf14dcef7dfbe97b2010124a938b7
        with:
          images: ${{ env.REGISTRY }}/${{ env.IMAGE_NAME }}
      # This step uses the `docker/build-push-action` action to build the image, based on your repository's `Dockerfile`. If the build succeeds, it pushes the image to GitHub Packages.
      # It uses the `context` parameter to define the build's context as the set of files located in the specified path. For more information, see "[Usage](https://github.com/docker/build-push-action#usage)" in the README of the `docker/build-push-action` repository.
      # It uses the `tags` and `labels` parameters to tag and label the image with the output from the "meta" step.
      - name: Build and push Docker image
        id: push
        uses: docker/build-push-action@f2a1d5e99d037542a71f64918e516c093c6f3fc4
        with:
          context: .
          push: true
          tags: ${{ steps.meta.outputs.tags }}
          labels: ${{ steps.meta.outputs.labels }}

      # This step generates an artifact attestation for the image, which is an unforgeable statement about where and how it was built. It increases supply chain security for people who consume the image. For more information, see "[AUTOTITLE](/actions/security-guides/using-artifact-attestations-to-establish-provenance-for-builds)."
      # - name: Generate artifact attestation
      #   uses: actions/attest-build-provenance@v1
      #   with:
      #     subject-name: ${{ env.REGISTRY }}/${{ env.IMAGE_NAME}}
      #     subject-digest: ${{ steps.push.outputs.digest }}
      #     push-to-registry: true

      # Trigger redeploy on dokploy => project webhooks settings
      # - name: Trigger dokploy redeploy
      #   run: |
# curl -X POST "http://有了这个文件后,当将代码推送到远程的时候,github 会自动跑 dockerfile 镜像编译,并且推送到远程 ghcr.io这样就会在这个位置显示镜像名称
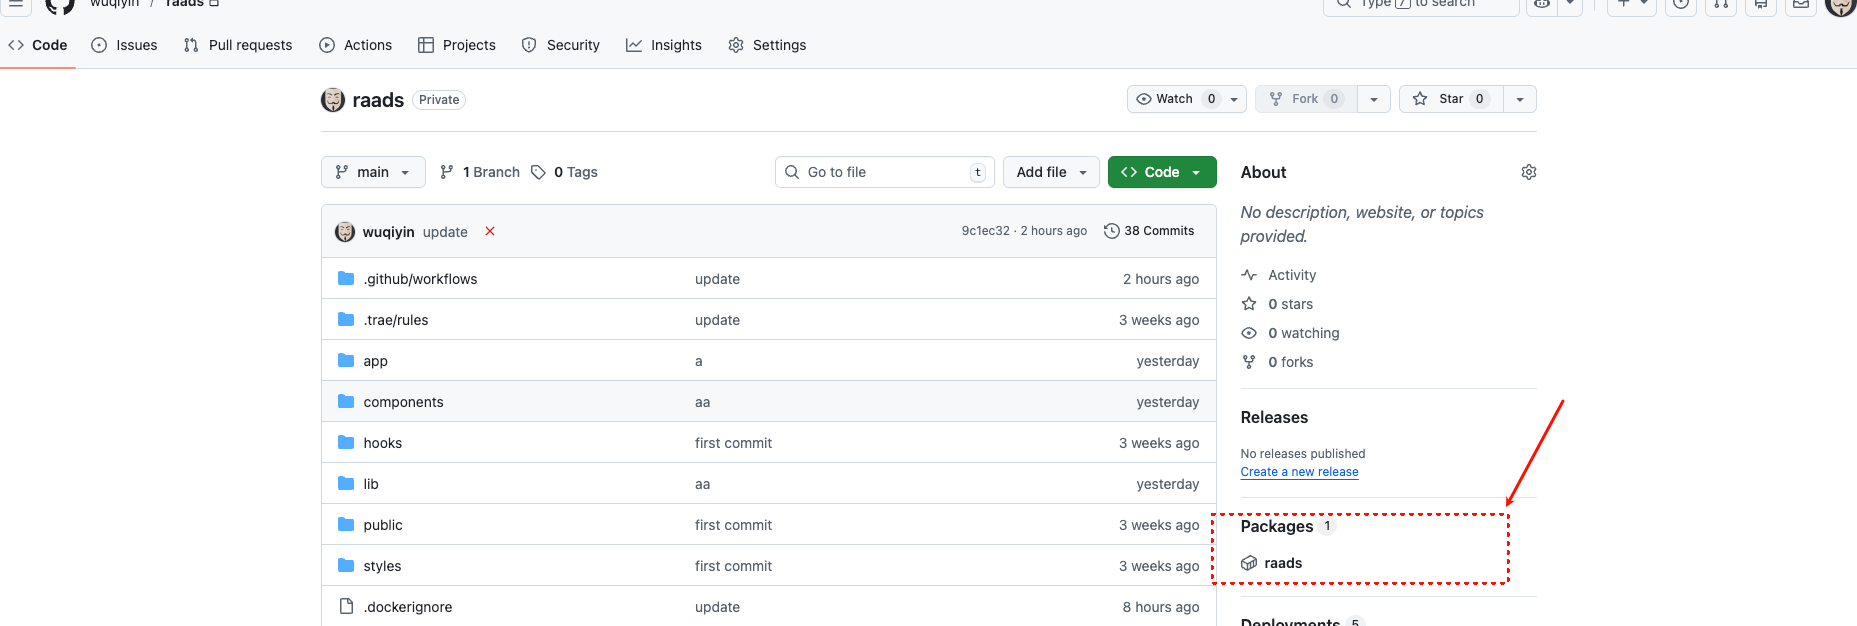
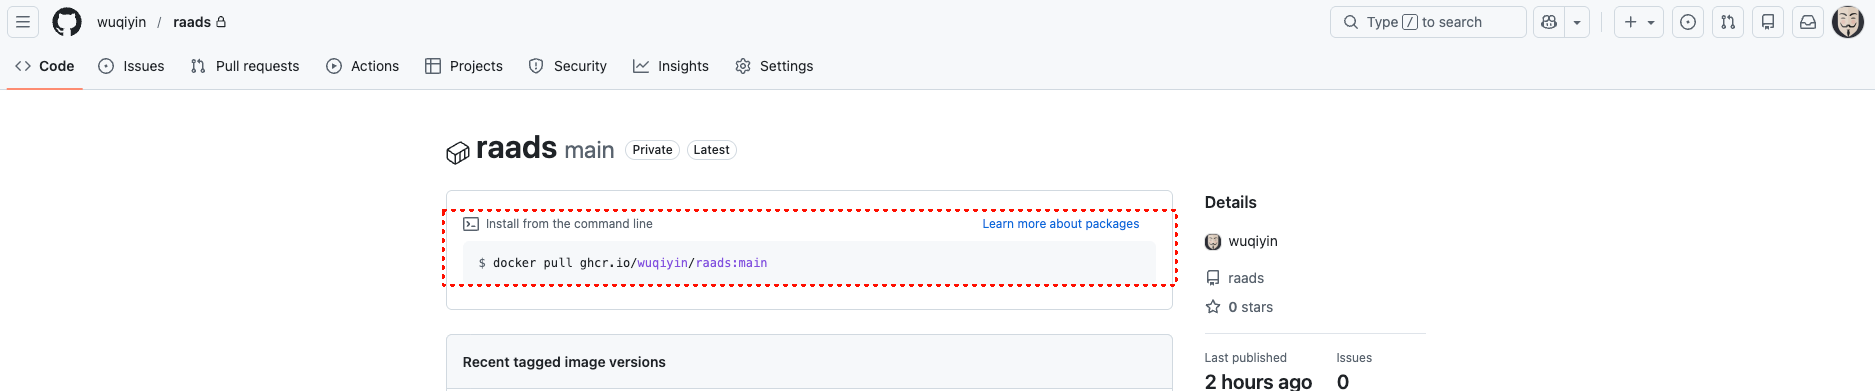
然后点击这里进去,就可以拉取镜像,不过因为是私有仓库,需要配置下 token,才可以正常拉取下来,且看接下来的目录
2. 配置 token
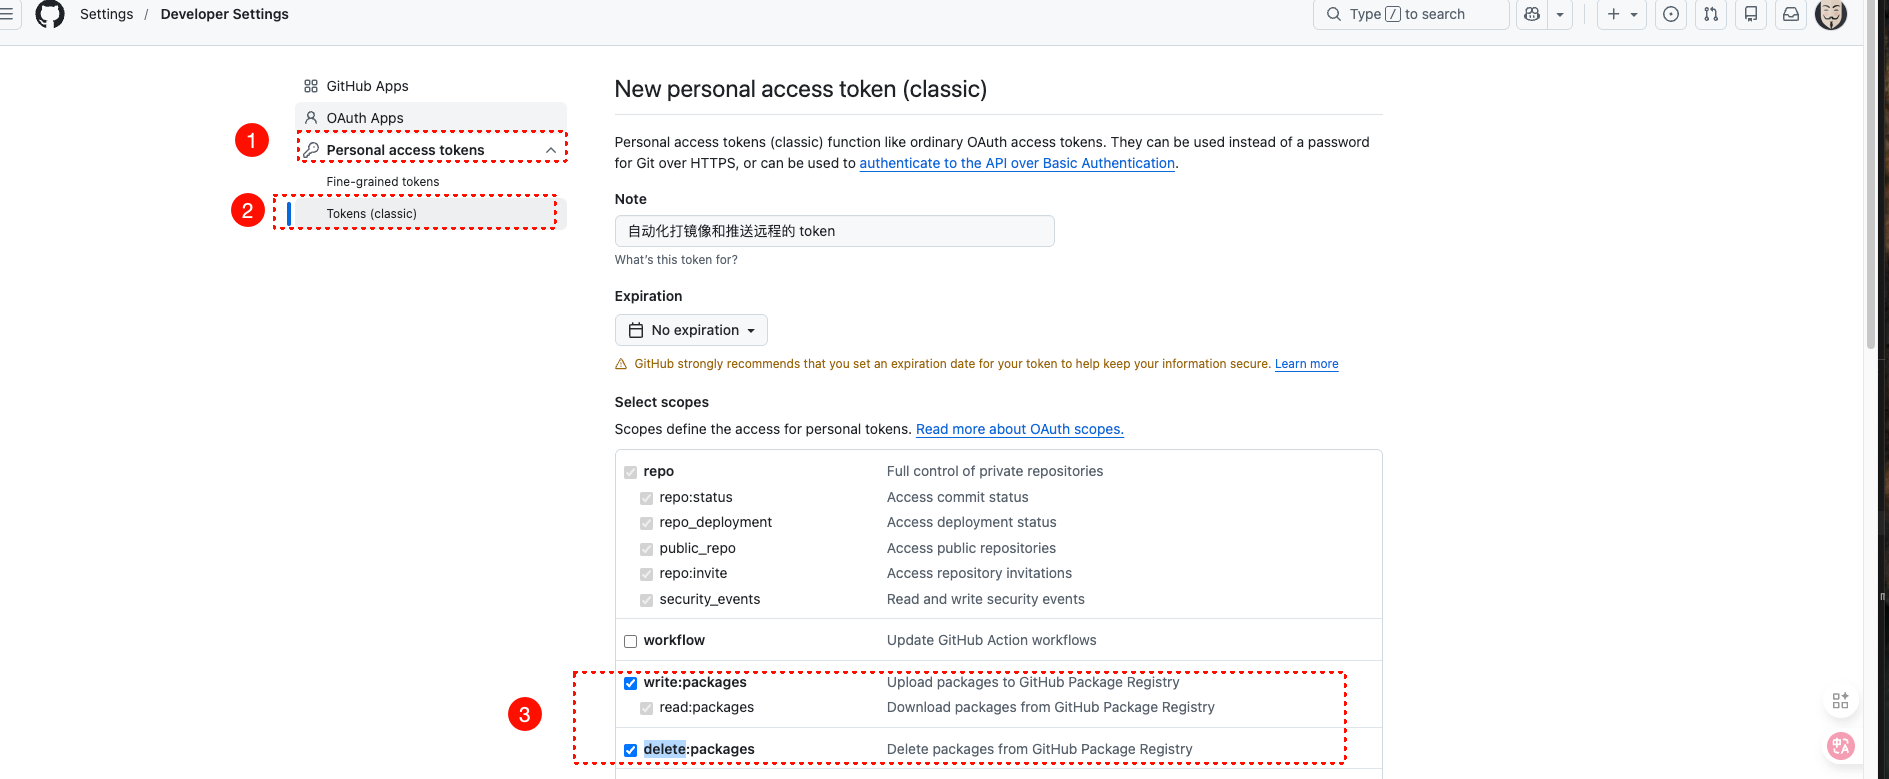
配置 token:
-
访问
GitHub → Settings → Developer settings → Personal access tokens → Tokens (classic) -
点击
"Generate new token" → "Generate new token (classic)" -
勾选权限:
read:packages(读取包)write:packages(写入包)delete:packages(删除包)- 如果需要访问私有仓库,添加
repo权限
-
生成并复制令牌
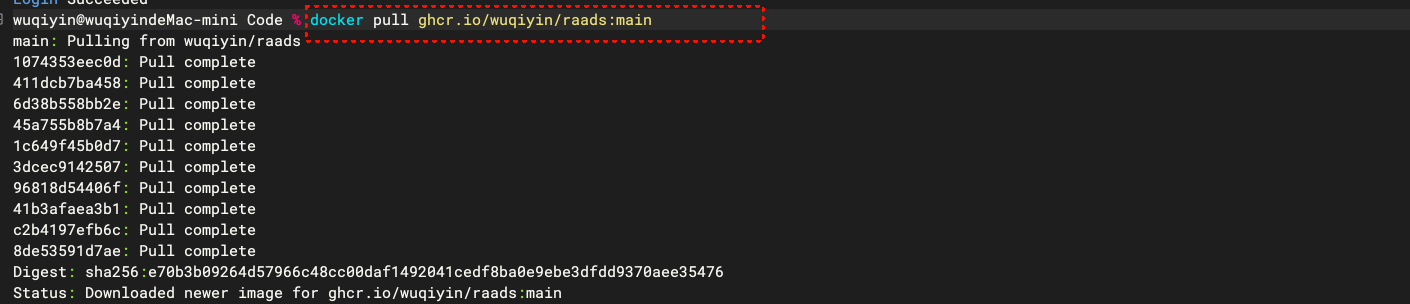
现在复制 github 的账号名称,和这 token,来登录,然后就可以正常拉取了

拉取镜像